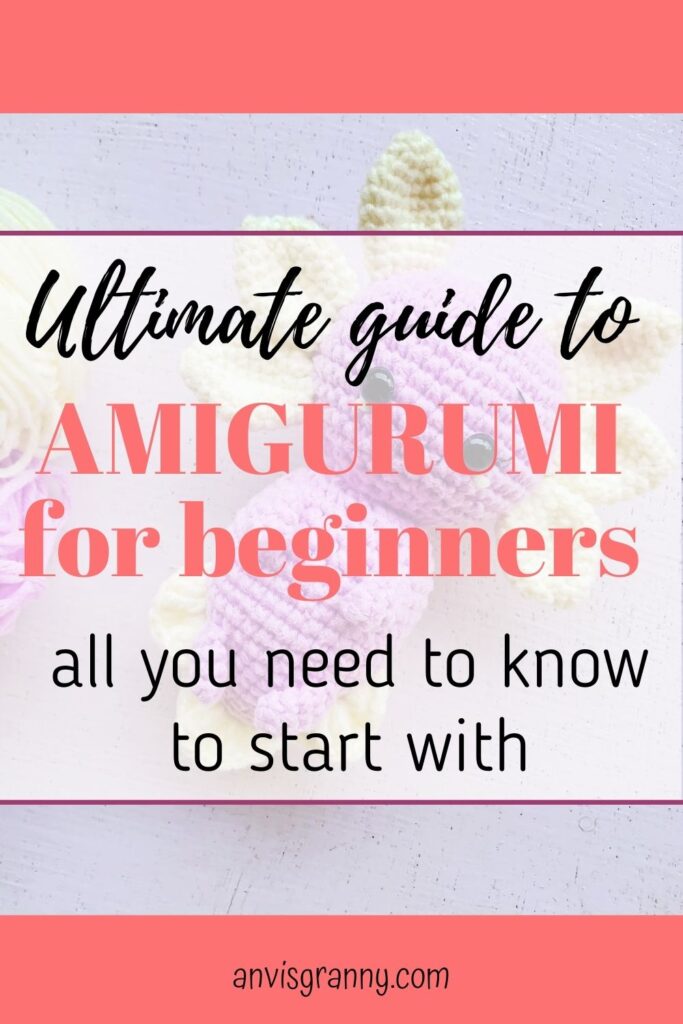
Crocheting is always a favorite hobby among crafters. Today let’s learn with me how to crochet amigurumi for beginners from scratch with this complete guide.
This post contains everything you need to know to start making your first crochet toy. Starting from how to choose yarn and hook, tools… Then we will figure out how to read crochet patterns, and learn basic crochet stitches with easy step-by-step video tutorials. We also go through 16 systematized lessons covering all the basic techniques required for amigurumi making.
You are not interested in making amigurumi (I wonder who doesn’t like such cutie creations?). Not worry, this post still can help you with basic knowledge about crochet, which you can apply to any crochet project.
You can check the latest jobs for knitting and crochet enthusiasts on Jooble as well if you want to make money from your hobby.
1. Amigurumi for beginners: What is amigurumi?
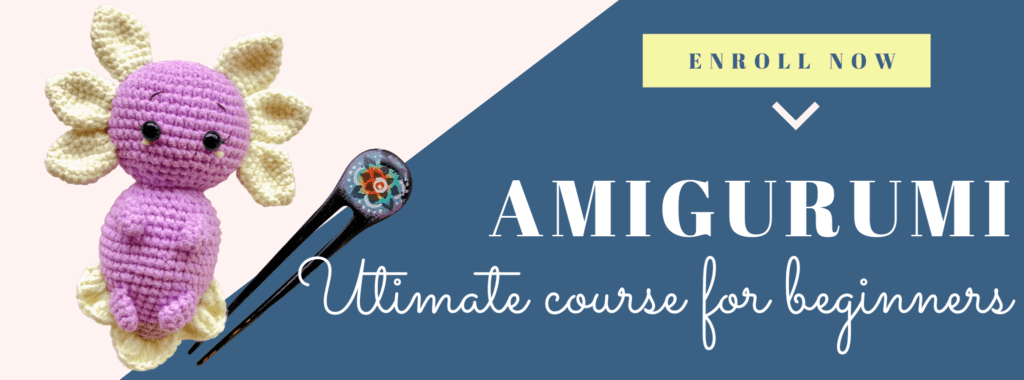
Do you love amigurumi but never try to make them? Or Want to teach somebody to crochet amigurumi but don’t have time? JOIN THIS COURSE
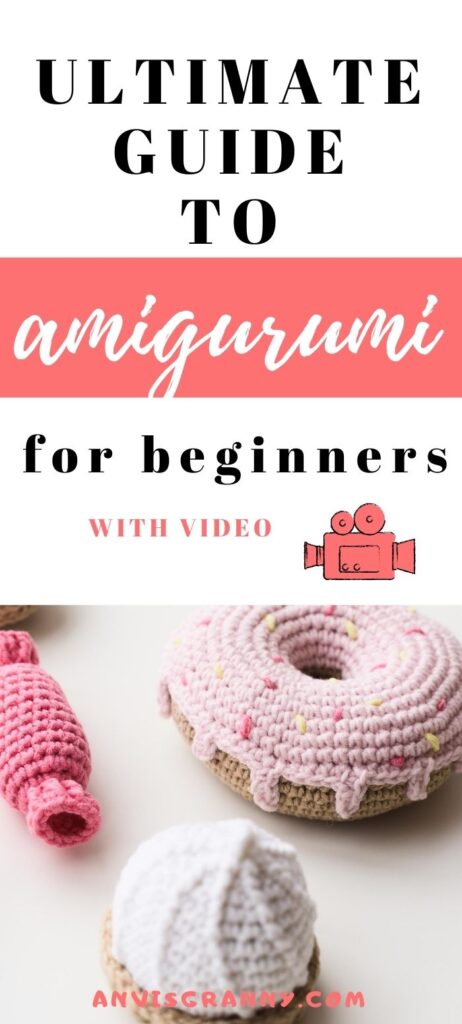
Amigurumi (pronounces /ɑːmɪˈɡuːɹuːmɪ/), a Japanese word, is an art of knitting or crocheting stuffed animals or dolls from yarn by hand. Most of the time, people prefer crocheting to knitting amigurumi, with a few simple basic crochet stitches. If you want to know more about amigurumi history, check Wikipedia
Frankly, amigurumi is an addictive art and very popular among crafters. Because there are so many lovely amigurumi creations and both making or playing with them can bring you joy.
Is it hard to make amigurumi? Is this for crochet beginners?
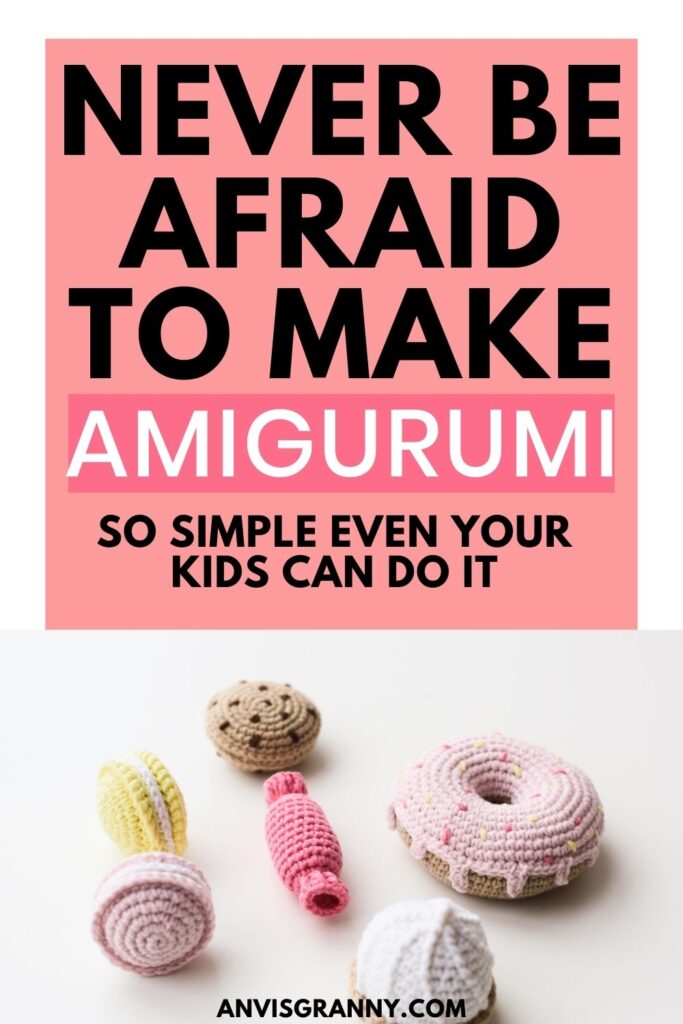
The answer is no. Even if you have never touched yarn and hook, you still can learn how to crochet amigurumi from the beginning. All you need is basic knowledge about crocheting and patience to practice. Everyone can crochet amigurumi.
How long does it take to make amigurumi?
Honestly, amigurumi is a time-consuming handicraft compared to other kinds of knitting or crocheting. It will take around 7 days to learn how to crochet beginner amigurumi. And a small project can take 1-2 hours. The bigger and more complicated amigurumi, the more time you need. But good things take time, you will love the amigurumi you make, and your kids as well.
2. Which materials and tools are needed for amigurumi beginners?
Well, if you are just beginning to learn how to crochet, not many things you need to start making amigurumi. I have made a list of required materials and tools for amigurumi here:
- Yarn
- Crochet hook
- Stuffing
- Safety eyes
- Stitch marker
- Scissors or a yarn cutter
- Yarn needle and tapestry needle
Yarn for amigurumi
What is the best yarn type for amigurumi?
As you know, there is a variety of yarn types and sizes in the market. But you will need something unstretched and anti-pilling to keep the form of the crochet toys longer. There are three types of yarns that are the best for amigurumi:
Yarn size (Yarn weight)
Depending on the thickness of the yarns, there are some different sizes of yarn weight. I think it is necessary to know about yarn size when you put your legs in one of the most interesting arts in the world – Crochet.
For an amigurumi beginner, you should start with DK or worsted yarns for the best practice. When you are comfortable with crocheting, you can move on to other sizes of yarns like lace or superfine for miniatures or plush bulky for big amigurumi.
How to find alternative yarn for amigurumi projects?
It is very common when you cannot find the exact yarn recommended in the amigurumi pattern. What you should do right now? Do not freak out, I am telling you how to substitute yarn to have a similar size of amigurumi as the pattern.
Actually, there are so many tips but then it is the easiest way to find yarn alternation for your crochet product. Simply enter the name of recommended yarn to https://yarnsub.com, and they will do the rest. Find the most suitable yarn that you would love to crochet, tada, done!
If you have already a lot of yarn at home without a label or any information, Lovecraft had brilliant tips to figure out yarn size. That article helps me a lot especially since I run over yarn in the middle of the project. Ms. Cleaver also gave an amazing tip to find alternative yarns with Ravelry, I think you also will love to check out.
Best crochet hook for amigurumi beginners
Of course, you need a crochet hook to crochet anything. But you need to use a smaller hook while working with amigurumi. Why? Because the smaller the hook, the tighter the stitch, and that helps your amigurumi have a beautiful outlook without any holes and visible stuffing from inside.
The same as yarn, there are some different sizes of crochet hooks in different systems. There are metric sizes, US size, UK size, and Japanese size. Make sure that you choose an ergonomic and comfortable hook that helps you make those small stitches over and over.
How to choose the right hook size for your amigurumi?
The answer to this question could be found inside our Amigurumi Beginner Ultimate Course.
WANT TO LEARN EVERYTHING TO MAKE YOUR FIRST AMIGURUMI FROM 0? JOIN THIS
Stuffing for amigurumi
What is the best stuffing for amigurumi or soft toys?
There are many materials that you can use to stuff amigurumi: cotton, wool, small pieces of fabric, dry beans, cardboard, and toilet paper…depending on the makers’ wish.
But if you want to make washable amigurumi, the most commonly used filling for handmade crocheted toys is Polyester fiberfill, also called “polyfill” stuffing.
Polyfill is created from a mix of various synthetic (polyester) fibers that are loosely spun to keep the light, airy texture.
Easily you can find polyfills in local craft shops, bedding shops, or online. When I run out of polyfill in the middle of the process, it seems a little bit silly but I just open any pillow in my house and use the filling from it. The only inconvenience of this is that my husband needs to buy new pillows all the time, haha.
You also can find eco-friendly alternative stuffing like Kapok cotton. I have a blog post on this cool stuffing and how to collect it which you might get interested in.
Safety Eyes and nose for amigurumi
For amigurumi, a simple way to give your toys soul, and add cuteness is to use plastic safety eyes and noses. These eyes and noses are installed before stuffing, and the two-part mechanism prevents the eyes and noses from falling off.
But if you make toys for infants or children under 3 years old, I highly recommend you embroider the eyes and nose instead of plastic safety ones.
Other tools that make your life easier
Stitch markers are small things but will impact your whole amigurumi project. While you work on continuous rounds, you need to mark the first stitch of each row. If you don’t keep track of those first stitches, there is a high potential that your amigurumi will end in a mess.
Personally, I prefer using another strand of abstract color yarn to mark the first stitches. This method is very easy and convenient for me because I am so lazy to remove and attach a stitch marker every new round.
Besides all the main materials and tools, I suggest you have good and sharp craft scissors with pointy tips. It will support stuffing into small holes and of course, cut your yarn.
Also, you should have one or two different yarn needles and tapestry needles when you sew parts of amigurumi or embroider eyes or noses.
3. How to read any crochet pattern for beginners
When you are new to crochet, written crochet patterns probably look like a foreign language for you, all the codes make you confused and have no idea where to start with. But no worry, I will show you here all you need to read a crochet pattern at any level.
Let’s say that you find an awesome pattern for an amigurumi or any other crochet project, but how to start? Right now we will break down the pattern so that you will understand the pattern without feeling so haunted.
“About” information
About is the section where the designer notes the type of the pattern: amigurumi or a blanket or a bag. You will want to choose the project that you want to make but also have the ability to make. There are four crochet skill levels that you will want to keep in mind: beginner, easy, intermediate, and advanced/experienced. An advanced crocheter can crochet anything but a newbie should choose a beginner pattern, which uses only basic stitches with a small size, to start with.
Yarn, materials, and tools
Make sure that you have the proper yarn, as well as other necessary tools and materials. For amigurumi, most of the time you will need yarn, a crochet hook, polyfill, safety eyes or embroidery threads, a stitch marker, and a yarn needle.
Gauge and tension
In other crochet patterns, you will find this section is written like this:
12 sts = 10 cm (4″); 12 rows = 10 cm (4″) in single crochet using a 2.5mm hook
What does this mean? Let’s decode this: You will use a crochet hook size 2.5mm with the noted yarn, and make single crochet stitches to create a square of 10x10cm. The width is formed from 12 stitches, the height is formed by 12 rows of single crochet.
Now you need to make your gauge to make sure that you have the right size of yarn and hook.
In amigurumi patterns, normally you will not find the gauge information but only the size of the finished item instead. Different sizes of yarn and hooks can lead to different sizes of your finished toys. As a beginner, try to follow the yarn and hook size of the pattern to have the precise size of the design.
Abbreviations or The crochet terms
A very common issue that many crochet beginners face is not understanding the crochet terms, which leads to weird crocheted items. So before starting to crochet anything, make sure that you acknowledge the abbreviations used and the crochet terms.
There are some kinds of crochet terms: American term (US Term), British term (UK term), the universal term (symbol term), and symbol charts. Most of the time you will find patterns that are written in US or UK terms, but when the designers are from China – the patterns are in the universal term, and the designers are from Japan – the patterns are in symbol charts.
Look at the board below to understand what are the differences between them.
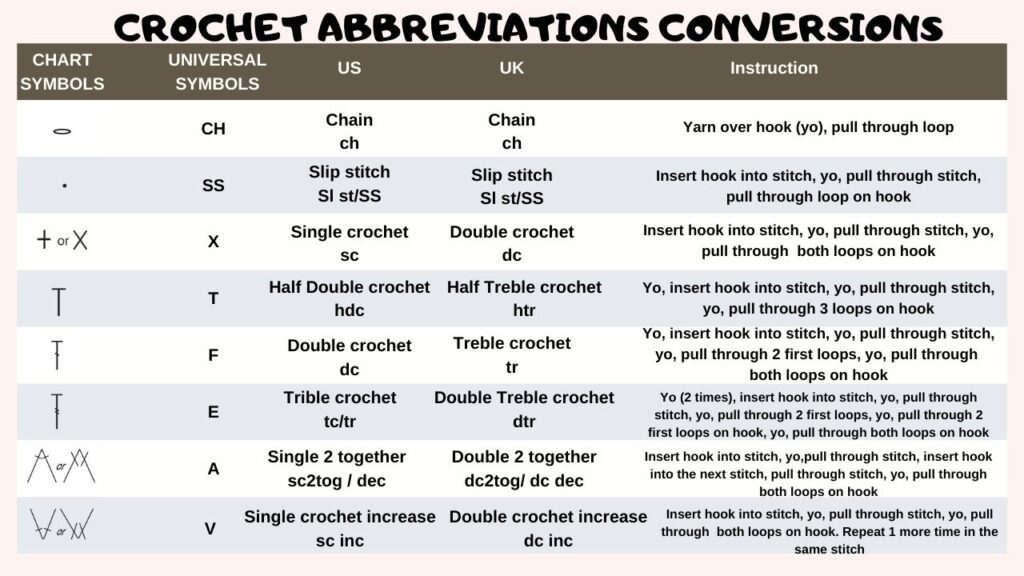
These are still some popular abbreviations commonly used in crochet patterns
- MR – magic ring/ magic circle/ adjustable ring/ magic loop
- beg – beginning
- cont – continue
- rep – repeat
- inc – increase
- dec – decrease
- ws – wrong side
- rs – right side
- sk – skip
- yo/yoh – Yarn over
- FO/CO: fasten off/ cast off
- BLO: Back loop only
- FLO: Front loop only
- St/ Sts: Stitch/Stitches
- FP: front post
- BP: back post
Abbreviations in other languages
Besides, designers from Spanish, Russian, and Portuguese technically use specific abbreviations for their languages but are still based on such major terms of crochet.
In my patterns, I prefer to use universal symbols, which everybody from any place in the world can read without any translating application.
Moreover, all my free patterns on this website can be translated into multiple languages immediately on the site, are you happy with that?
Decoding the pattern
After knowing all the sections of a crochet pattern, it is time for decoding the pattern. There is no pattern having the same structure as others, it depends on the designers individually. But normally there are some commons in the structure of crochet patterns that you need to keep eye on:
The number of row/ round: Main instruction (total amount of stitches after finishing this row/ round).
For your flexibility to understand all types of patterns, I went from row to row with my crochet tutorial: How to crochet a perfect ball with 3 different types of written patterns. All the detailed instructions can be found inside Amigurumi Beginner Ultimate Course.
There are a few more types but once you know how to read the abbreviations and structure of the pattern, you can read any pattern and in any language (using Google Translate).
4. Basic crochet stitches – amigurumi for beginners
For crochet beginners or amigurumi beginners, we just need to know a few crochet stitches to start with: chain, single crochet, half double crochet, double crochet, triple crochet, and slip stitch. (I am using American terminology here).
I will write down the information in this order: Symbol Abbreviation (Universal and what I use for my patterns) – Name of stitch + abbreviation (US term) – Name of stitch + abbreviation (UK term).
Let’s learn how to crochet amigurumi right now!
CH – Chain stitch (ch) – Chain stitch (ch)
Instruction: Yarn over hook (yo), pull through loop.
SS – Slip stitch (Sl st/ SS) – Slip stitch (Sl st/ SS)
Instruction: Insert hook into stitch, yarn over, pull through stitch, pull through loop on hook.
X – Single crochet (sc) – Double crochet (dc)
In making amigurumi, it is the most used stitch because it will form small holes and keep the stuffing invisible inside the finished crochet items.
This stitch forms a square (Width = height)
Instruction: Insert hook into stitch, yarn over, pull through stitch, yarn over, pull through both loops on hook.
T – Half double crochet (hdc) – Half Treble crochet (htr)
Technically a half double crochet stitch’s dimension is equal 2 times to a single crochet stitch’s dimensions. But with my experience, I feel that 1T = 1.5X in height
Instruction: Yarn over, insert hook into stitch, yarn over, pull through stitch, yarn over, pull through 3 loops on hook.
F – double crochet (dc) – Treble crochet (Tr)
This crochet stitch is very popular when you crochet tops, scarfs, or blankets, but not with amigurumi. You can meet this stitch when you make a dress or hair for crochet dolls.
1F = 3X in height
Instruction: Yarn over, insert hook into stitch, yarn over, pull through stitch, yarn over, pull through 2 first loops, yarn over, pull through both loops on hook.
E – Triple crochet (tc/ tr) – Double Treble crochet (dtr)
When you want to make tall stitches (like a flower), this crochet stitch is very useful. Because 1E = 4X in height
Instruction: Yarn over (2 times), insert hook into stitch, yarn over, pull through stitch, yarn over, pull through 2 first loops, yarn over, pull through 2 first loops on hook, yarn over, pull through both loops on hook.
V – Single crochet increase (sc inc) – Double crochet increase (dc inc)
When you wanna expand your crochet sheet, you need to add more stitches. That’s when you need to use an increase: create2 stitches at 1 stitch of the previous round. Here is the formula for a single crochet increase but you can apply it for other stitches.
Instruction: Insert hook into stitch, yarn over, pull through stitch, yarn over, pull through both loops on hook. Repeat 1 more time in the same stitch.
In my patterns, sometimes I use single crochet 3 stitches increase (W, that means you crochet 3 new stitches in 1 stitch of the previous round.
A – Single 2 together (sc2tog/ dec) – Double 2 together (dc2tog)
When you wanna make your crochet sheet smaller, you need to reduce stitches. That’s when you need to use a decrease: crochet 2 stitches together to make 1 new stitch. Technically, in making amigurumi you will not use normal decrease but the invisible decrease which helps you to have an even surface of amigurumi.
Instruction:
Invisible decrease for the right side: Insert hook into the front loop of the first stitch, insert hook into the front loop of the next stitch, yarn over, pull through the loops, yarn over, pull through both loops on hook.
Invisible decrease for the wrong side (when you work inside out): Skip 1 stitch, Insert the hook into the back loop of the second stitch, twist the hook to the wrong side, and insert the hook into the back loop of the skipped stitch, return to the original position (right side), yarn over, pull through the loops, yarn over, pull through both loops on hook.
DETAILED VIDEO TUTORIALS CAN BE FOUND IN THIS COURSE
5. Basic Techniques – how to crochet amigurumi for beginners
After knowing basic crochet stitches, you also need some other useful techniques specifically used for amigurumi. Do not worry, everything is clear after you follow this blog post.
I also made a full Youtube series for you to learn and practice: Amigurumi school – Basic class for absolute beginners. There are so many free amigurumi video tutorials and crochet tips videos, remember to visit, subscribe and turn on the notification for my channel to be the first one to know about new videos.
I highly recommend that you watch all the videos before you start to make your first amigurumi. The reason is to help you have all the basic foundation strongly and decently, which will lead to beautiful amigurumi even for the first time you crochet.
Some crucial techniques you need to know are:
- How to hold a crochet hook and yarn the right way
- How to make a magic ring or adjustable ring, or magic circle
- Define cross stitch single crochet (X single crochet) and normal single crochet (V single crochet)
- How to start an amigurumi for beginners (and follow the pattern)
- How to change colors while crocheting amigurumi
- How to crochet a perfect stripe without cutting yarn
- How to stuff amigurumi in the right way
- How to close a hole at the end of the amigurumi part
- How to sew parts of amigurumi for beginners
- How to insert safety eyes and nose
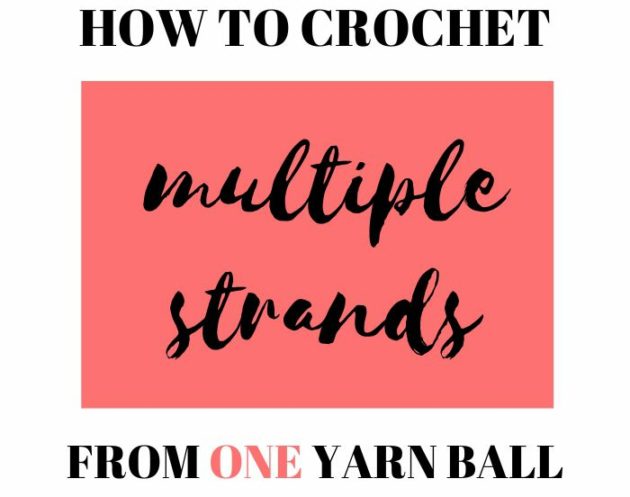
- How to crochet multiple strands from 1 yarn ball
DETAILED VIDEO TUTORIALS CAN BE FOUND IN THIS COURSE
It seems a long list to go, but I created very short and clear videos so that you can pick it up easily without feeling overwhelmed. I suggest that you should learn each by each in 7 days or more because I want you to practice well before any official project.
Let’s dance, oops, let’s jump into the class!
Note: Learning how to hold a crochet hook and yarn is a very important pre-step that will impact your tension and your speed of crocheting. There are some different ways of keeping yarn and hook, both for right-handed and left-handed people. You can check this video from Forever Bliss Crochet to learn 4 yarn holds and 2 hook holds and experiments in your most comfortable way.
6. First amigurumi project you should make
Yeap! After you finish this post about how to crochet amigurumi for beginners from scratch, I think you are ready!
Actually, you can choose any amigurumi pattern that you want to make to start with, but in my opinion, you should go with small projects. Believe me, you will be happy and motivated when holding your first finished amigurumi ever.
Choosing a big amigurumi project might kill your excitement and eagerness because it will consume so much time and effort to fulfill.
Most of my patterns are small, fun crochet amigurumi for beginners, you can find many cute designs in my shop (Etsy, Ravelry, Pattern shop). However, I also give many free amigurumi patterns and amigurumi tutorial videos that you can begin with, just enjoy!
In my Amigurumi Beginner Ultimate Course, you will start with Kiki the Axolotl, then will have 7 BT21 keychains for you to practice. All are available in PDF premium patterns for you to use anytime, anywhere.
Last words
Congratulations! Finally, you have finished my Ultimate guide about amigurumi for beginners! I hope that whatever I have given here satisfies your need and possibly helps you to crochet your first amigurumi. Show me your creations in my VIP Facebook Group and make friends with like-minded people from all over the world.
If you love the guide, please save it to your Pinterest, comment here on what you think, share, and tell the world about it. Do not forget to subscribe to this page, my Youtube channel for free crochet patterns and crochet tips. If you want to contact me in person, do not hesitate to email me, or drop a message on Instagram or Facebook.
Happy crocheting!
From Joy – Anvi’s Granny with love!